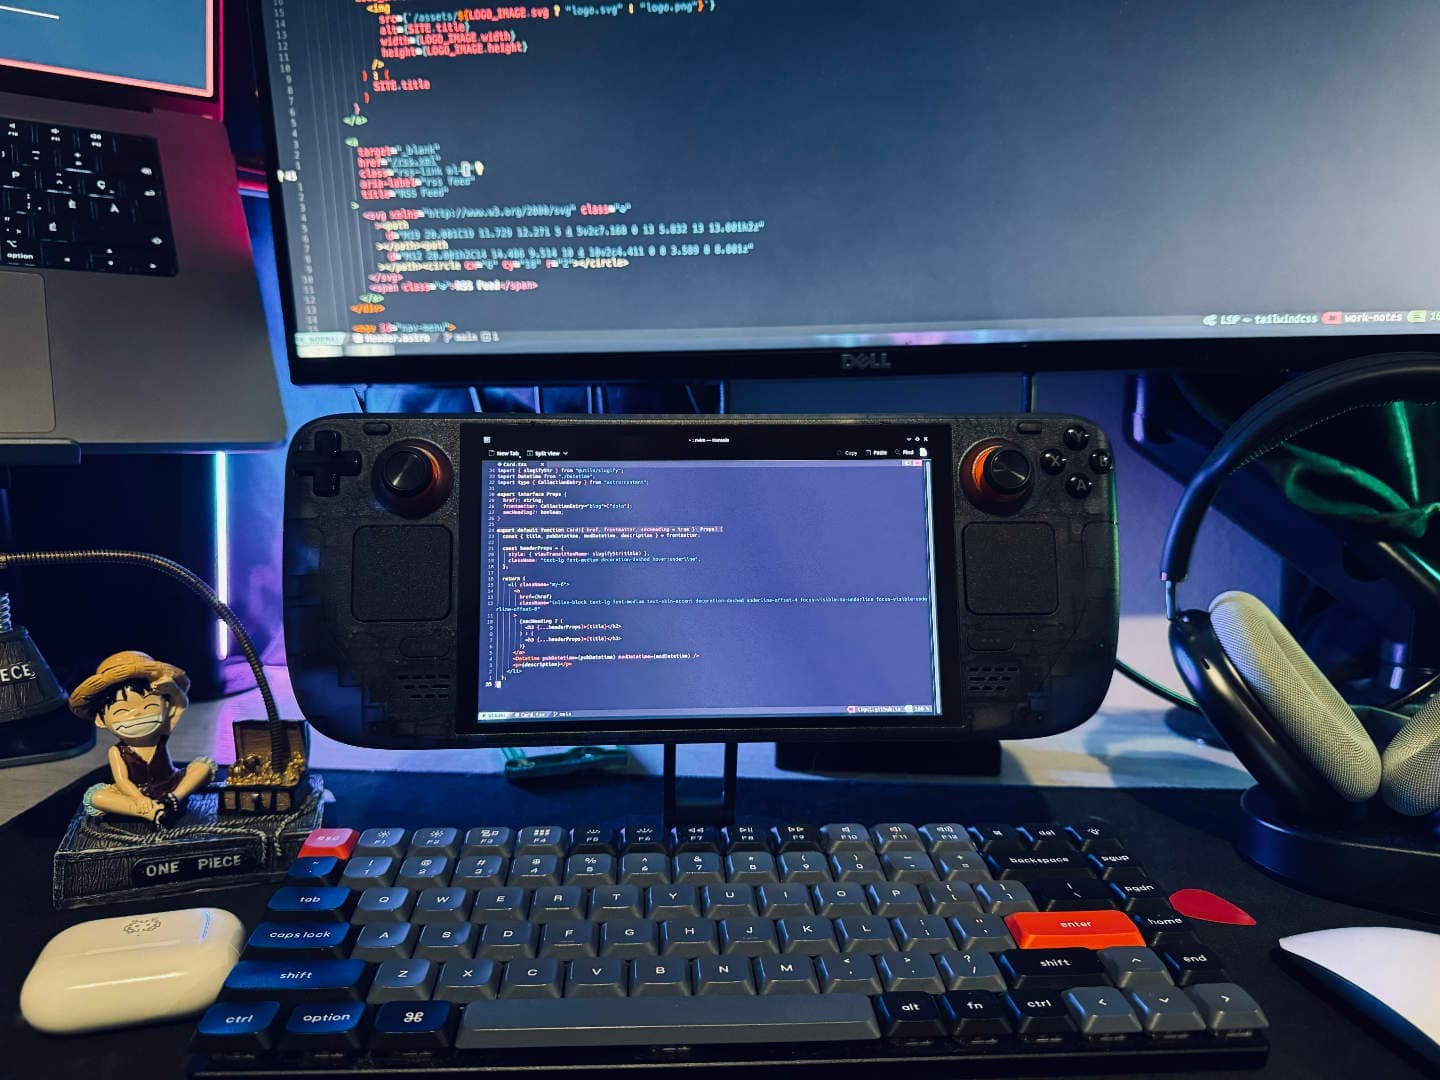
You love your Steam Deck as I love mine, and you want to do everything on it, like writing that article with Neovim from my Steam machine?
Well, you are in the right place!
Table of contents
Open Table of contents
First step: The basic “unlock”
Let’s open the terminal Konsole.
- If you have not already, use
passwdto create a password for thedeckuser. - Disable read-only mode:
sudo btrfs property set -ts / ro false - Initialize the pacman keyring:
sudo pacman-key --init - Populate the pacman keyring with the default Arch Linux keys:
sudo pacman-key --populate archlinux
Second step: Install some generic packages
These packages that we will install are required for a lot of things to work properly.
- Let’s update our packages with
sudo pacman -Syu - Then install the generic packages with
sudo pacman -S base-devel glibc linux-api-headers - Install a
ccompiler withsudo pacman -S gcc(Required for TreeSitter)
Third step: Install Neovim
If you don’t necessarily want the latest version of Neovim, well now you can install Neovim with a simple sudo pacman -S neovim and that’s it!
Oh, what? You want an up-to-date Neovim version? Well, I’ll explain to you how with the nvim.appimage file.
- Go to the Neovim GitHub releases page.
- You’ll see at the end of each release block an Assets button to see some files.
- Download the file
nvim.appimage. - Then move and rename the Neovim app image with
mv ./nvim.appimage /usr/local/bin/nvim. - Simply run
bashto reload bash config and there you go!
You are now supposed to be able to use nvim.
You may not find the ~/.config/nvim folder. You can simply create it, and it will work if you want some special configuration.
The post you want to read
You may want to take a look at that post talking about NvChad 2.5.